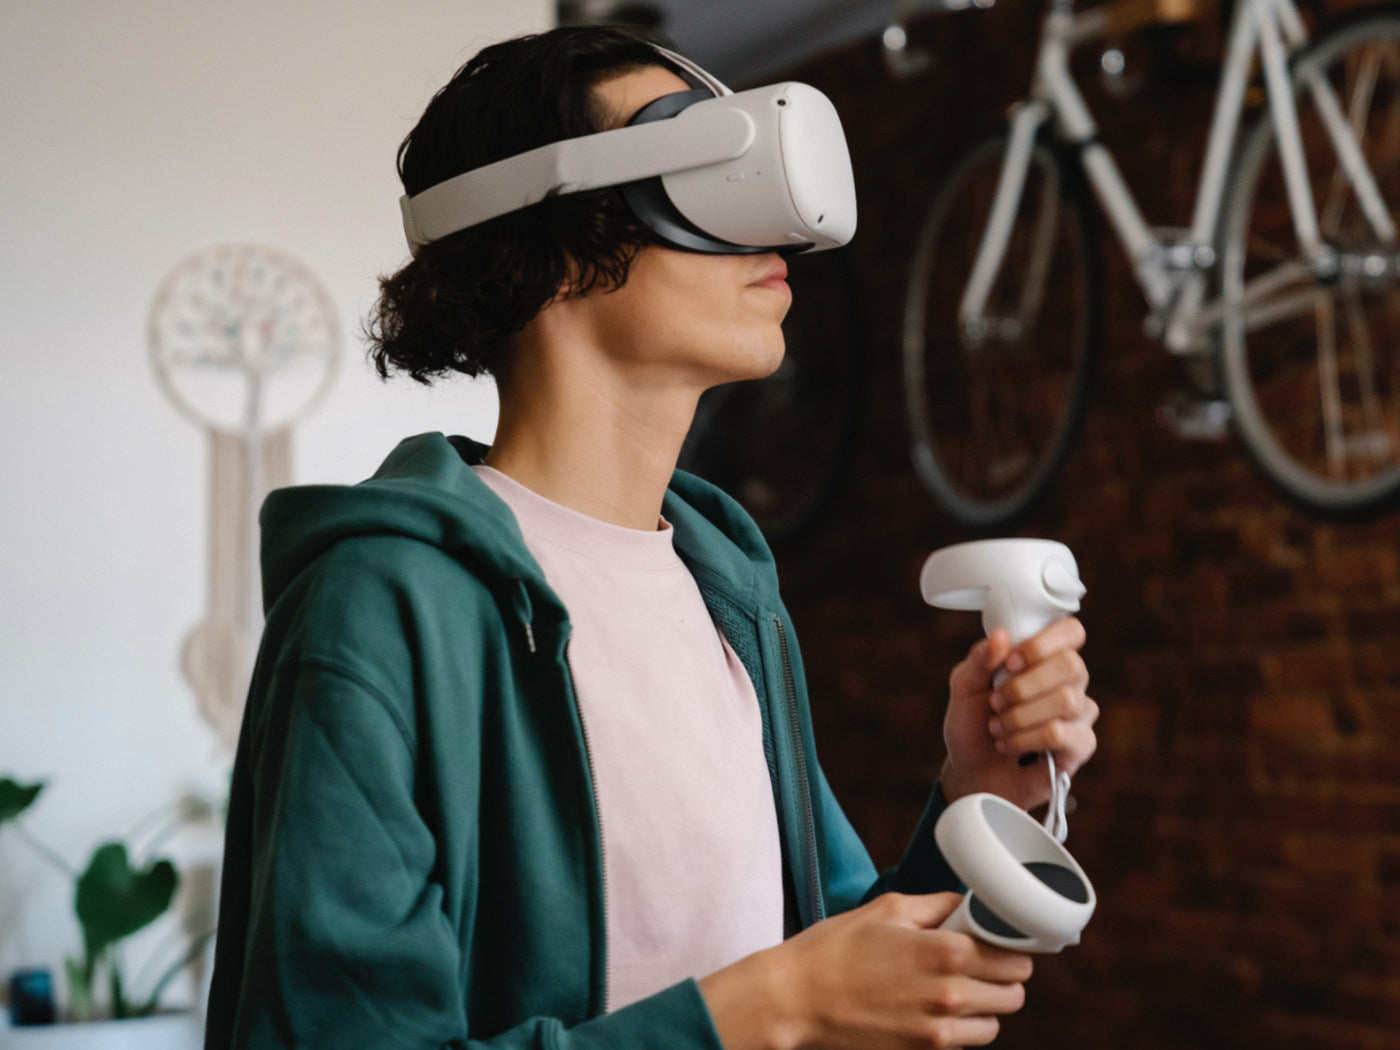
The Meta Quest 2, previously known as the Oculus Quest 2, has undoubtedly established itself as a leading virtual reality headset, offering a rich library of immersive Quest VR games. However, for those seeking even more diverse gaming experiences, the allure of SteamVR and its collection of top-tier games is hard to resist. By connecting your Meta Quest 2 to a compatible gaming PC, you can unlock a whole new world of gaming possibilities.

Requirements for Playing Steam Games on Meta Quest 2
Before you can delve into the world of the best SteamVR games on your Meta Quest 2, there are some essential requirements to consider. To unlock the full potential of your VR gaming experience, ensure that you meet the following prerequisites:
- Gaming PC Compatibility: To play SteamVR games on your Meta Quest 2, you'll need a gaming PC that meets the Quest Link system requirements. This includes an Intel i5-4590 or AMD Ryzen 5 1500X processor or higher, 8GB RAM, Windows 10 or higher, and a compatible graphics card, such as Nvidia GeForce GTX 1070, GTX 1080, or GTX 1650 Super (or better) for Nvidia GPUs, or an AMD 400 Series graphics card (or better) for AMD GPUs.
- Meta PC App: Download and install the Meta PC app on your gaming PC, which ensures seamless communication between your Meta Quest 2 and the PC. Make sure to have at least 4GB of available disk space for the app.
- Internet Connectivity: If you opt for wireless connectivity, both your Meta Quest 2 and gaming PC must be connected to the same Wi-Fi network, preferably a 5GHz network without a range extender, to ensure a stable and reliable connection.
- Air Link or Virtual Desktop: There are two main methods to connect your Meta Quest 2 wirelessly to your gaming PC for SteamVR gaming: Air Link and Virtual Desktop. You can choose either of these options based on your preferences and requirements.
Connecting Meta Quest 2 to a Gaming PC
To access the top SteamVR games on your Meta Quest 2, you need to establish a physical connection between your VR headset and gaming PC. Follow these steps:
- Launch the Meta PC app on your gaming PC, ensuring you have the latest version installed.
- Turn off any VPN connections to avoid potential interference.
- Connect your Meta Quest 2 to the PC using a USB 3 Type-C cable. This connection method is known as Oculus Link. An initial setup will guide you through the process of linking your headset to the PC.
- Once connected, put on your Meta Quest 2 headset and navigate to the "Devices" menu on the main screen. Press "Add Headset" to complete the setup process.
- Now, with your Meta Quest 2 linked to the gaming PC, you can access SteamVR games through the Steam app on your PC. Download and install your preferred games and you'll be ready to immerse yourself in the best SteamVR games for Quest 2.
Using Virtual Desktop for Wireless Connectivity
An alternative to Air Link is Virtual Desktop, a third-party application available on the Meta Store that facilitates wireless connectivity to your gaming PC. Here's how to use Virtual Desktop:
- Purchase and install Virtual Desktop from the Meta Store on your Meta Quest 2.
- On your gaming PC, download and install the Virtual Desktop Streamer App.
- Launch Virtual Desktop on your Meta Quest 2 and enter your Meta account username into the designated box.
- Connect to your gaming PC via Virtual Desktop and a "Games" tab will appear, listing the top SteamVR games you've previously downloaded.
Recommended Accessories For Playing SteamVR Games:
1. ZyberVR Link Cable
2. ZyberVR PCVR Charging Cable
Conclusion
Playing Steam games on Meta Quest 2 opens up a world of immersive VR experiences and top-notch gameplay. By bridging the gap between the Meta Quest 2 and a gaming PC, you gain access to the best SteamVR games that might not be readily available on the Quest platform. Whether you prefer the convenience of a wired connection with Oculus Link or the freedom of wireless play through Air Link or Virtual Desktop, there's a method that suits your preferences and requirements.


