Apple Vision Pro is a fantastic tool for you to basically enjoy the power of a Mac in 4K on a private display wherever you are. One of the most important components of Mac Virtual Display is its ability to be used with both Mac laptops and desktop computers.
RELATED: Apple Vision Pro Battery Performance Optimization Strategies
How To Start A Mac Virtual Display Session
1. Verify Mac Compatibility With Apple Vision Pro
Before starting your Mac Virtual Display session, it's essential to confirm compatibility between your Mac device and Apple Vision Pro. Ensure that your Mac is running macOS 14 Sonoma or later, as this version supports the functionalities required for Mac Virtual Display.
2. Sign In With The Same Apple ID
To provide a direct link between Mac and Apple Vision Pro, sign into both devices with the same Apple ID. With this stage, connections and preferences are compatible through the synching of settings among different devices, making everything user-friendly. Furthermore, you may want to turn on two-factor authentication for increased security and a general feeling of trust while setting up your account.
3. Activate Wi-Fi And Bluetooth Connectivity
Enable Wi-Fi and Bluetooth connectivity on both your Mac and Apple Vision Pro to facilitate wireless communication between the devices. These connectivity options serve as the backbone for establishing a reliable connection and ensuring smooth data transmission during your Mac Virtual Display session.
4. Initiate Connection From Mac Laptop Or Desktop
Depending on whether you're using a Mac laptop or desktop, the process of initiating a Mac Virtual Display session may vary slightly:
a. Mac Laptop
- Ensure that your Mac laptop's display is active and ready for interaction.
- While wearing Apple Vision Pro, direct your gaze toward your Mac laptop's display.
- Look for the "Connect" button that appears above the screen within your view.
- Tap the "Connect" button to initiate the connection between your Mac laptop and Apple Vision Pro seamlessly.
b. Mac Desktop
- With your Apple Vision Pro on, navigate to the Control Center on your view.
- Locate and tap the Control Center expand menu button to reveal additional options.
- Select the "Mac Virtual Display" option from the Control Center menu.
- Choose your Mac desktop from the list of connectable devices displayed on Apple Vision Pro.
- Follow the prompts to establish a secure connection between your Mac desktop and Apple Vision Pro effortlessly.
5. Confirmation And Initialization
Upon successful connection, you'll receive a confirmation on both your Mac and Apple Vision Pro, indicating the establishment of a Mac Virtual Display session. Take a moment to ensure that the display appears as expected within your Apple Vision Pro workspace, ready for interaction and exploration.
RELATED: How To Watch Apple's Spatial Videos On Meta Quest 3
How To Use Mac Virtual Display
1. Interface Overview
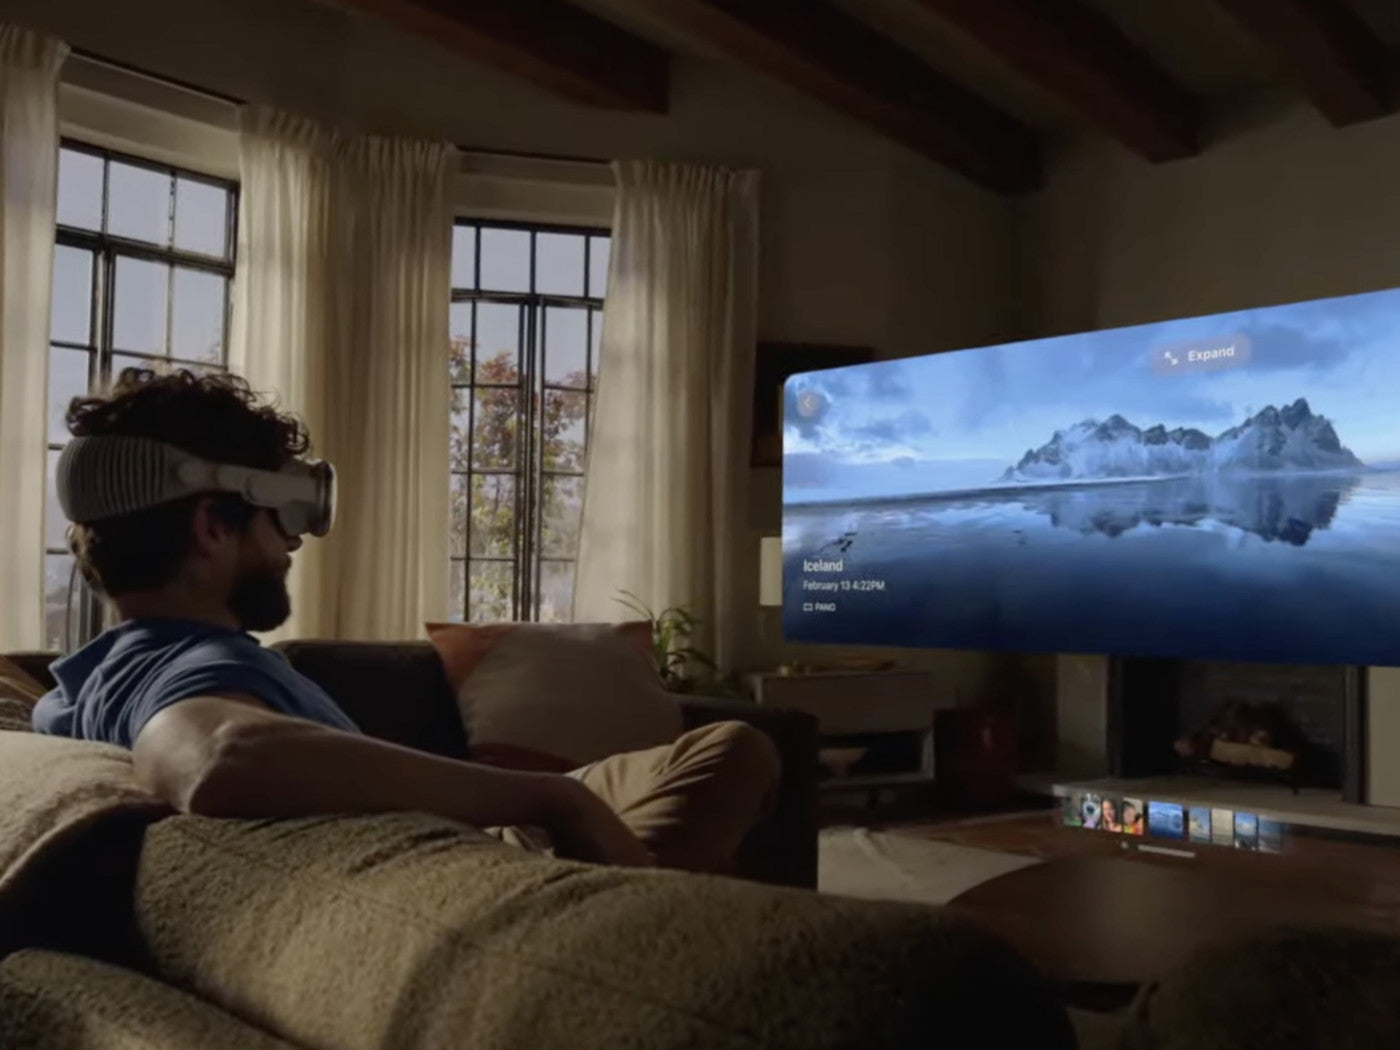
Upon initiating a Mac Virtual Display session with Apple Vision Pro, users are greeted with a familiar yet enhanced interface that mirrors their Mac display. The virtual display window appears within the Apple Vision Pro workspace, allowing users to seamlessly transition between their physical surroundings and the digital world.
2. Adjusting Display Size And Position
Mac Virtual Display is a very effective tool that helps users customize and play with the size and position of the window of the virtual display. Through pinching and dragging the window borders on the bottom corners one can enlarge the display to the individual taste thus giving maximum visibility and comfort.
3. Moving The Mac Display In Space
One of the standout features of Mac Virtual Display is its ability to simulate a three-dimensional workspace within Apple Vision Pro. Users can effortlessly move the Mac display in space by interacting with the virtual display window, allowing for dynamic positioning and arrangement within their physical environment.
4. Resizing Windows And Content
Users are not also constrained by having less screen size, as they have the ability to resize individual windows, as well as, content within the virtual display window. Users will be able to resize and rearrange the windows using the window bars placed at the bottom corners of separate windows; this enhances multitasking and efficient workflow management.
5. Utilizing Mac Input Devices
Mac Virtual Display seamlessly integrates with Mac input devices, enabling users to interact with their virtual Mac display using familiar peripherals such as the keyboard and trackpad. Whether navigating through applications, typing documents, or performing intricate tasks, users can take advantage of the full functionality of their Mac input devices within the Apple Vision Pro environment.
6. Interacting With Applications And Content
Within the Mac Virtual Display environment, users can seamlessly interact with applications and content as they would on their physical Mac display.
RELATED: Top Apps To Enhance Your Apple Vision Pro Experience
How To End A Mac Virtual Display Session
1. Initiate The Disconnection Process
Before ending the Mac Virtual Display session, it is necessary to make sure that you are done with your tasks and that you are ready to separate from the Mac device. Spend a moment to save changes if necessary and close unnecessary applications and/or windows.
2. Access The Control Center
To initiate the disconnection process, access the Control Center within your Apple Vision Pro interface. This can typically be done by tapping the Control Center expand menu button or a similar control option, depending on your specific setup.
3. Navigating To The Disconnect Option
Within the Control Center interface, locate the option to disconnect or end the Mac Virtual Display session. This option may be represented by a close button or a similar icon that indicates the termination of the session.
4. Confirming The Disconnection
Upon selecting the disconnect option, you may be prompted to confirm your decision to end the Mac Virtual Display session. Take a moment to review the confirmation message and ensure that you indeed wish to disconnect from your Mac device.
5. Closing The Virtual Display Window
Once you've confirmed the disconnection, proceed to close the virtual display window within your Apple Vision Pro interface. This action effectively terminates the connection between your Mac device and Apple Vision Pro, restoring your visual field to its default state.
6. Resuming Normal Functionality
With the Mac Virtual Display session successfully ended, you can now resume normal functionality on both your Mac device and Apple Vision Pro. Take a moment to verify that all devices are operating as expected and that there are no lingering connections or issues.
7. Safely Exiting The Control Center
After ending the Mac Virtual Display session, safely exit the Control Center interface within your Apple Vision Pro. This ensures that you've properly completed the disconnection process and can continue using your device for other tasks or activities.
Recommended Apple Vision Pro Accessories:
1. ZyberVR Neck Power Bank
Conclusion
With rapid technology changes comes a newer way of working using a Mac desktop with Apple Vision Pro. Users can use this computer device seamlessly and at the same time improve their productivity. Mac virtual display is available in all macOS versions and devices. Similarly, the users can have peace of mind about the device's ability to interact with the Mac Virtual display. This means that it can provide enhanced productivity, whether at home or office, or even running affairs.


