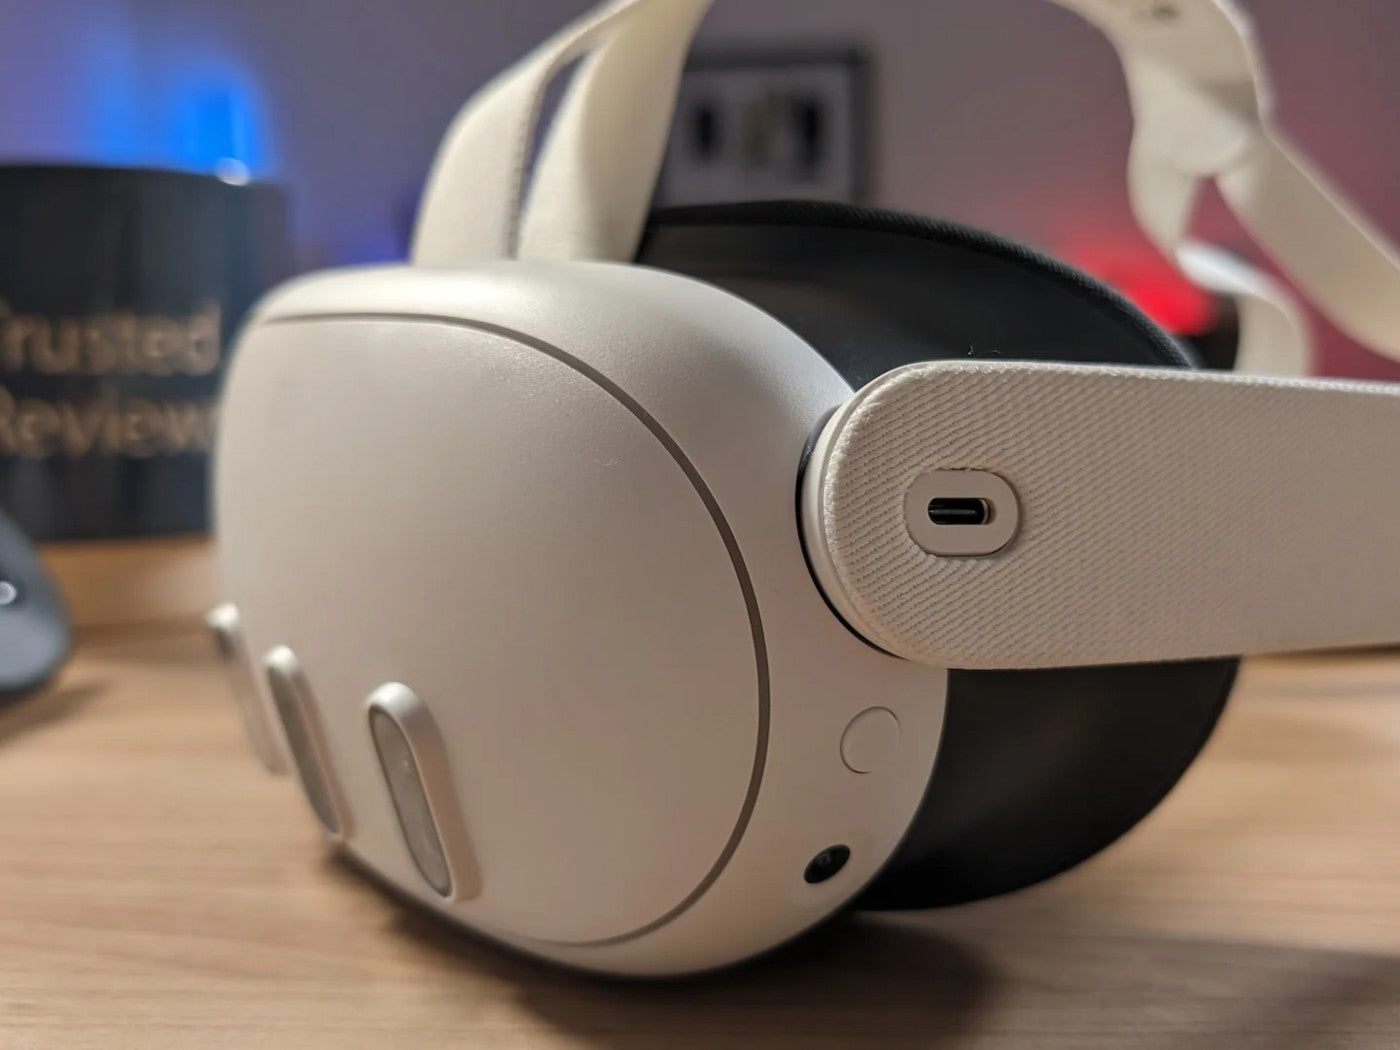
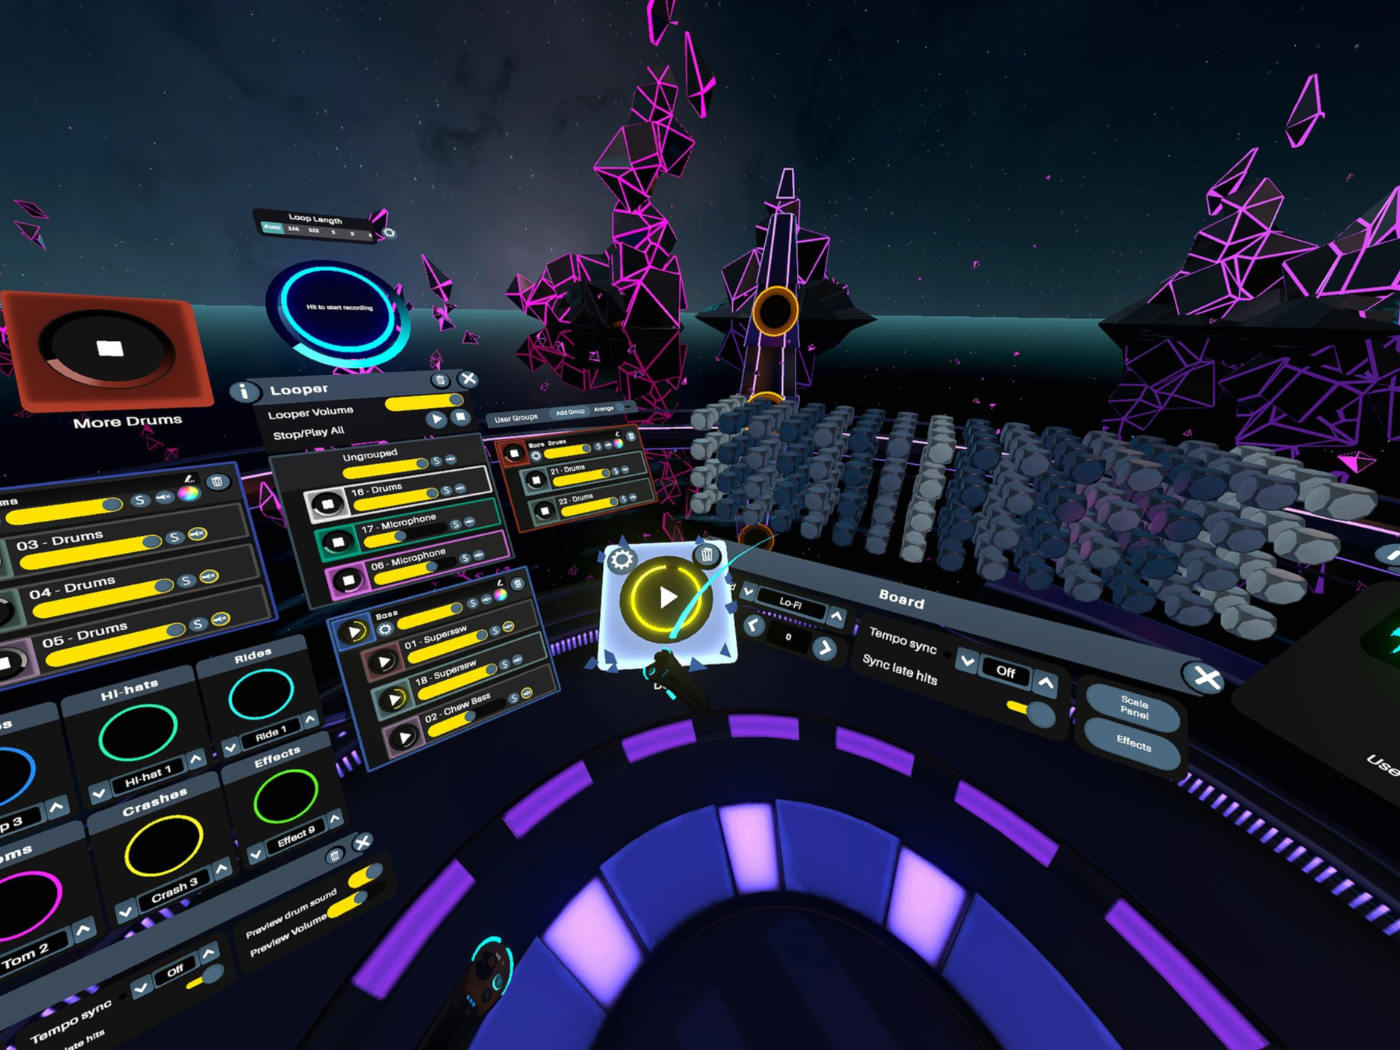
While the Quest 3 is an outstanding standalone VR headset, its connection to a PC unlocks a vast universe of gaming possibilities. This article will introduce you to the concept of connecting your Meta Quest 3 to your PC, offering you a broader catalog of VR games and experiences.
Why Connect Your Meta Quest 3 To PC
Expanded Game Library

Gaining access to a vast library of PC VR games is a notable advantage when you link your Quest 3 to a PC. PC platforms boast a broader array of titles, encompassing high-end, visually impressive games and distinctive indie experiences. Through this PC connection, you can dive into this diverse gaming landscape, discovering titles that align with your gaming preferences.
Improved Graphics And Performance
PC hardware typically outperforms the Quest 3's internal components. This means you can enjoy VR games with higher graphical fidelity, smoother frame rates, and enhanced details. If you're a fan of visually stunning VR experiences, connecting to a PC allows you to harness the full potential of your Meta Quest 3.
Compatibility With PC-Exclusive Titles
Some VR games are exclusively available on PC platforms. By establishing a connection, you can dive into these unique titles and enjoy gaming experiences that might not be accessible through standalone VR headsets.
Future-Proofing Your VR Setup

By connecting your Quest 3 to a PC, you future-proof your VR setup. You'll be ready to explore upcoming titles and advancements in VR technology, ensuring that your gaming experience remains cutting-edge.
Multiplayer and Social Interactions
Many PC VR games support multiplayer and social interactions on a larger scale. By connecting your Quest 3 to a PC, you can join friends and other VR enthusiasts in online worlds, enhancing the social aspect of your VR gaming.
Connecting The Meta Quest 3 To Your PC
Make sure your PC meets the following requirements:
- High-end GPU
- A compatible CPU (like Ryzen 5 or equivalent)
- At least 16GB of RAM
- HDMI 1.3 port
Connecting With A USB Cable Or Meta Link Cable
- Plug the Meta Link cable into the USB-C port on your Quest 3 and a blue USB 3.0 port on your computer. Avoid using USB 2.0 ports for a smoother experience.
- Put on your Quest 3.
- Allow any link connections when prompted.
- Let the PC Meta Quest app set up your play area using the headset's camera.
- Navigate to the Games tab to access the Rift game library.
Connecting Wirelessly With Air Link
- Open the Oculus software on your desktop.
- Go to Devices and click "Add Headset."
- Put on your Quest 3.
- Open the Quick Settings menu.
- Find the Air Link feature and activate it by tapping on it.
- Your Quest 3 should connect to your PC over your Wi-Fi network, allowing you to start playing Rift games.
Using Virtual Desktop For Wireless Connection
Virtual Desktop is another wireless option, offering high levels of customization and performance. It provides features like adjustable frame rates, refresh rates, and graphical fidelity.
- Purchase Virtual Desktop from the Oculus Store on your Meta Quest 3.
- Install the Virtual Desktop Streamer app on your PC.
- Go to your apps and open Virtual Desktop.
- After logging in, choose your PC from the list of accessible computers.
Recommended Blogs:
- A Guide To Playing PC VR Games On Your Smartphone
- How to choose a PC VR link cable for your VR headset
Recommended Meta Quest 3 Accessories:
1. ZyberVR Link Cable
2. ZyberVR Steam VR Charging Cable
3. ZyberVR Streaming And Charging Cable
Conclusion
Connecting your Meta Quest 3 to your PC is not just about playing VR games but also about exploring virtual worlds, experiencing immersive simulations, and engaging in social VR activities. It's an opportunity to expand your VR horizons and enjoy the best of both the standalone VR world and the rich PC VR gaming ecosystem.


