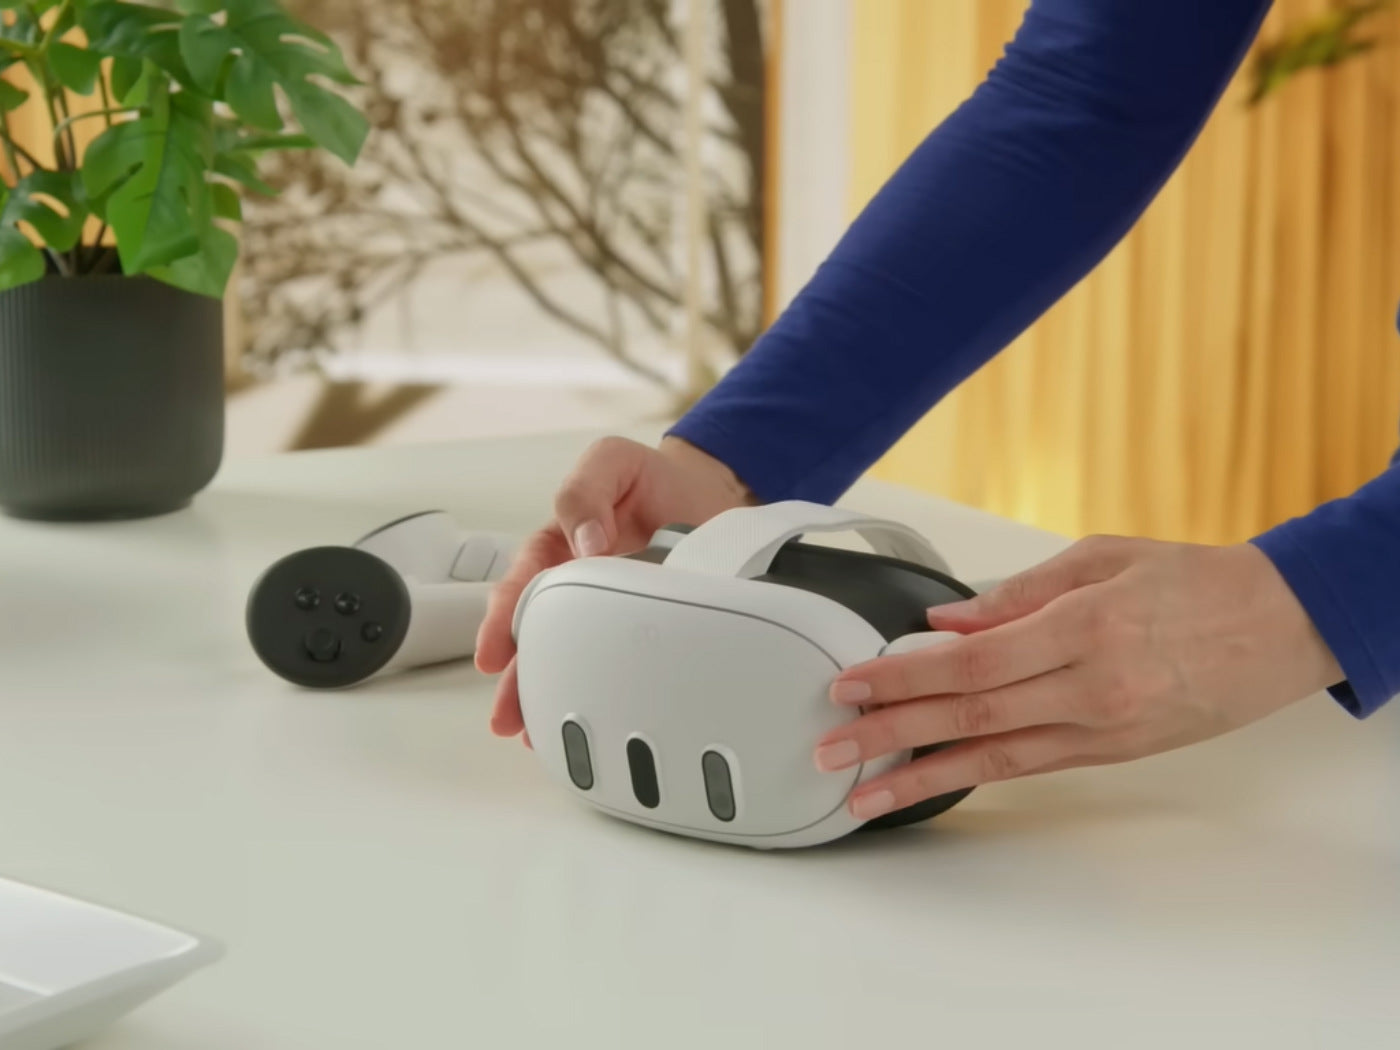
Transferring files from your PC to your Meta Quest can enhance your virtual reality experience by enabling you to access your favorite shows, movies, documents, and other files directly from your headset. This guide will walk you through the steps to transfer files easily and troubleshoot common issues.
Getting Started: Connecting Your Meta Quest to Your PC
Before transferring files, ensure you have the necessary equipment:
- Meta Quest headset
- USB 2.0 or 3.0 cable (included with your Meta Quest)
- PC with Windows, macOS, or Chrome OS
Step 1: Use The Included USB Cable
Connect one end of the USB cable to your PC and the other end to your Meta Quest headset.
Step 2: Authorize The Connection
Put on your headset. You will see a prompt asking if you want to allow your computer to access the files on your headset. Select "Allow."
RELATED: How To Determine If Your PC Is VR Ready
Transferring Files On Different Operating Systems
For Windows Users
- Automatic Drive Detection: Once you allow the connection, your Meta Quest will automatically appear as a drive on your computer.
- Transfer Files: Open File Explorer. You should see your Meta Quest listed as a drive. Click on it to access its folders. Drag and drop the files you want to transfer from your PC into the appropriate folders on your Meta Quest.
For Mac Users
- Install Android File Transfer: Download and install the Android File Transfer application from the official website.
- Open Android File Transfer: Connect your Meta Quest to your Mac using the USB cable and open the Android File Transfer app. You will see the files and folders on your Meta Quest.
- Transfer Files: Drag and drop files from your Mac into the desired folders on your Meta Quest.
RELATED: How To Connect Meta Quest 3 To Mac And MacBook - A Complete Tutorial
For Chromebook/Chrome OS Users
- Open the Files App: Connect your Meta Quest to your Chromebook using the USB cable. Open the Files app on your Chromebook.
- Access Meta Quest: You will see your Meta Quest listed in the Files app. Click on it to view its contents.
- Transfer Files: Drag and drop files from your Chromebook into the folders on your Meta Quest.
Common Troubleshooting Steps
1. Meta Quest Not Detected On Windows
If your Meta Quest doesn't appear as a drive on your Windows PC, try the following steps:
- Ensure you are using the USB cable that came with your Meta Quest.
- Make sure you select "Allow" in VR to grant your PC access to the files.
- Update Device Driver
- Right-click on "This PC" or "My Computer" on your desktop and select "Manage."
- Go to "Device Manager."
- Expand the "Portable Devices" section.
- Right-click on "Meta Quest" and select "Update Driver."
- Choose "Browse my computer" for drivers, then "Let me pick from a list."
- Select "MTP USB Device" and click "Next."
2. Meta Quest 3 Not Detected by PC
If you're having trouble connecting your Meta Quest 3 to your PC, try these steps:
- Follow the guide to activate developer mode on your Meta Quest 3. This can often resolve connectivity issues.
- Press and hold the power button located on the left side of the headset until you see the restart prompt. Restart the device and try connecting again.
3. Meta Quest 2 Not Detected By PC
If your Meta Quest 2 doesn't show up on your PC:
- Disconnect the headset from your PC. Put on the headset, press and hold the power button until you see a prompt with a restart option.
- Select "Restart." After rebooting, reconnect it to your PC and allow the connection when prompted.
RELATED: A Guide To Resolving Meta Quest 3 Issues
Recommended Meta Quest Accessories:
1. ZyberVR Link Cable
2. ZyberVR Elite Strap
Conclusion
Transferring files from your PC to your Meta Quest is straightforward once you know the steps. Whether you're using Windows, macOS, or Chrome OS, you can easily move your favorite media and documents to your headset. Remember to troubleshoot using the steps provided if you encounter any issues. Enjoy your enhanced virtual reality experience with all your files at your fingertips!


