Mixed reality refers to virtual spaces in which real-world elements and individuals are merged into the virtual environment. When the virtual and real worlds collide, new environments emerge. Digital and physical objects can coexist as well as interact with one another in these environments.
Before we begin, here is what you need to have:
Steps In Making A Mixed Reality Video
1. Download The Apps Needed

2. Prepare Your Green Screen
You'll need a location in your room to connect your green screen, which will serve as your background during gameplay.
3. Connect Your Oculus Quest To Computer Using A Link Cable
Once you are done with steps 1 and 2, you need to connect your VR headset to a VR-compatible laptop or PC using the ZyberVR link cable to make the connection fast and stable.
Open The Oculus App
After you’re done connecting it, open the Oculus app and test the tandem speed connection by clicking “USB Test.” If there is a connection test error, select the “Device Setup” and click the “Link (Cable)” mode. Then, test the tandem speed again.

4. Run SteamVR
Run the SteamVR and if it shows a warning sign, you just need to restart the SteamVR.
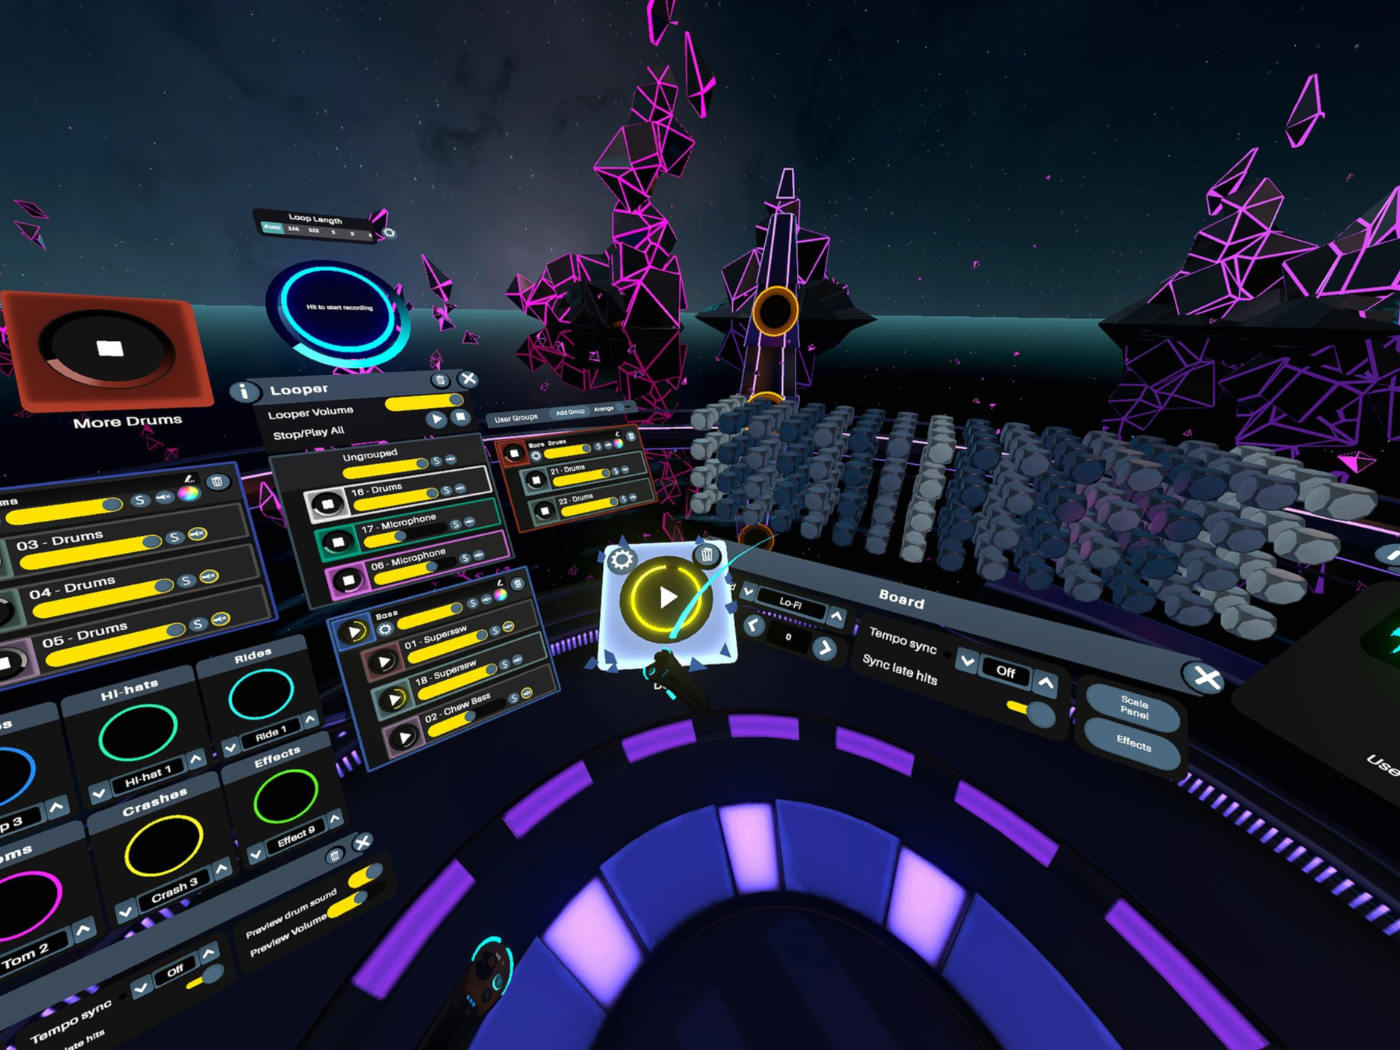
5. Launch LIV
Once you have successfully accessed the SteamVR, Launch LIV. Choose your sign in method as “Continue as Guest”. Under the PCVR Tools, click “Mixed Reality Capture” then click “Start PCVR Mixed Reality Capture”.


The next thing to do is select “Camera” then select the type of your camera, your camera device, and the resolution you want. You’ll now that you have successfully managed to follow all the steps above once you see the camera screen appear.
Calibration
Click “Begin Calibration” then select “From Headset”.
After positioning the camera within the tracker and at an angle that captures the VR player well, you could already begin calibration.
The VR controller tracker should be touching the camera for the initial calibration point. The VR user should stand at least 1.5 meters away from the 2nd and 3rd calibration points and calibrate different corners of the room. If everything goes well, your controller should appear as a 3D object on top of your controllers.
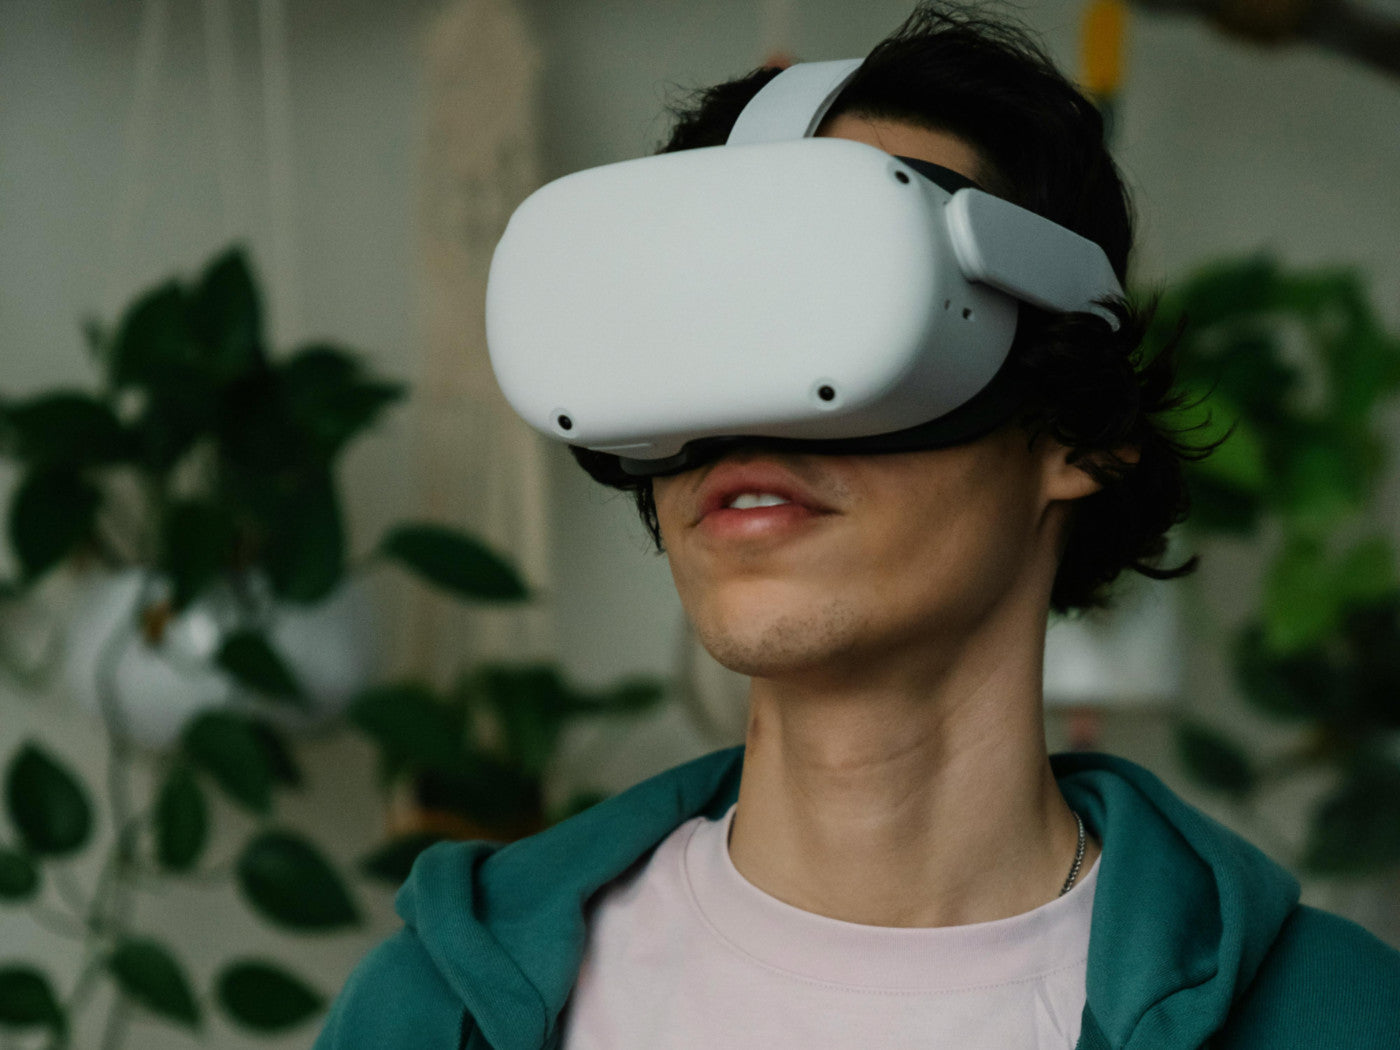
6. Use ZyberVR Prescription Lens Inserts If You Are Nearsighted
If you wear glasses on a regular basis, you should consider getting a set of prescription lens inserts for your VR headset.
7. Select Keying
Although keying is simple, it does require some patience. First, select the color you want to key. If you have a green screen, use that color. To determine the exact color, take a photo of your green screen, upload it to your computer, and then use an eye drop to get the hexadecimal value. Then, once you've obtained the hexadecimal, enter it into the “Color” option.
Keep in mind to stand in front of the camera at all times after changing the values so that you will not only obtain the correct output, but also that you, the player, are well captured with the background.
8. Choose A Game
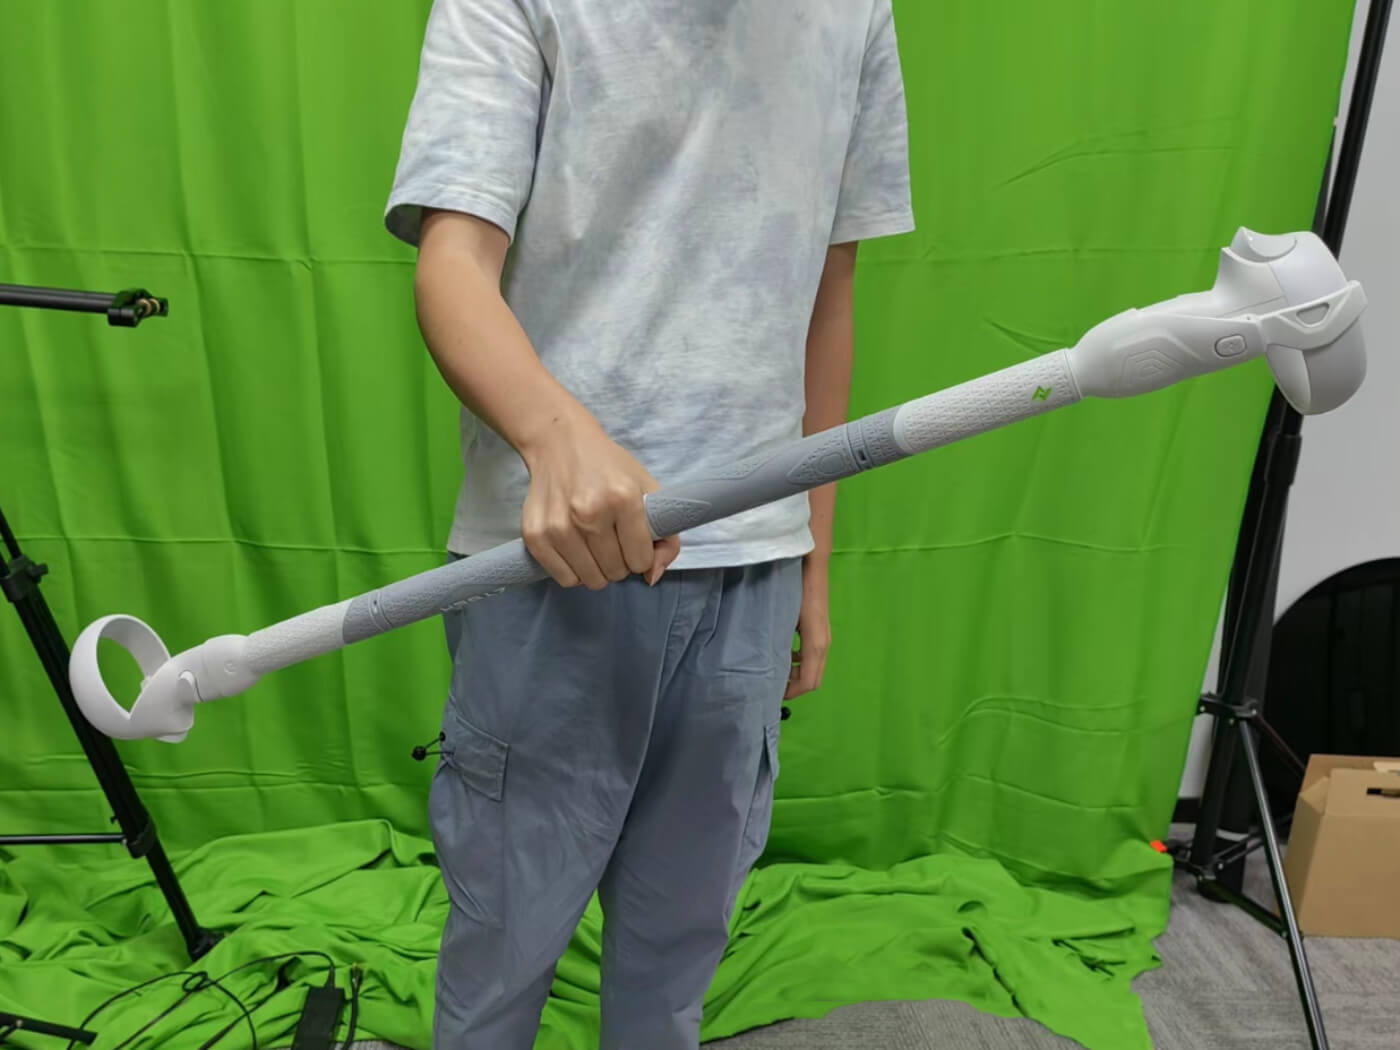
Make sure the VR game you would like to play is on Steam and is also supported by LIV, just like Beat Saber. For a more immersive experience, use the ZyberVR extended handles.