Virtual reality is no longer a distant dream—it's here and accessible, thanks to devices like the Meta Quest 2. This all-in-one VR headset allows you to get immersive experiences, moving beyond passive screen viewing to physically engaging in virtual environments.
If you’ve just unboxed your new Quest 2, excitement and a bit of confusion are natural. This guide will walk you through the essential setup and functionalities of your new Meta Quest 2.
Setting Up Meta Quest 2:
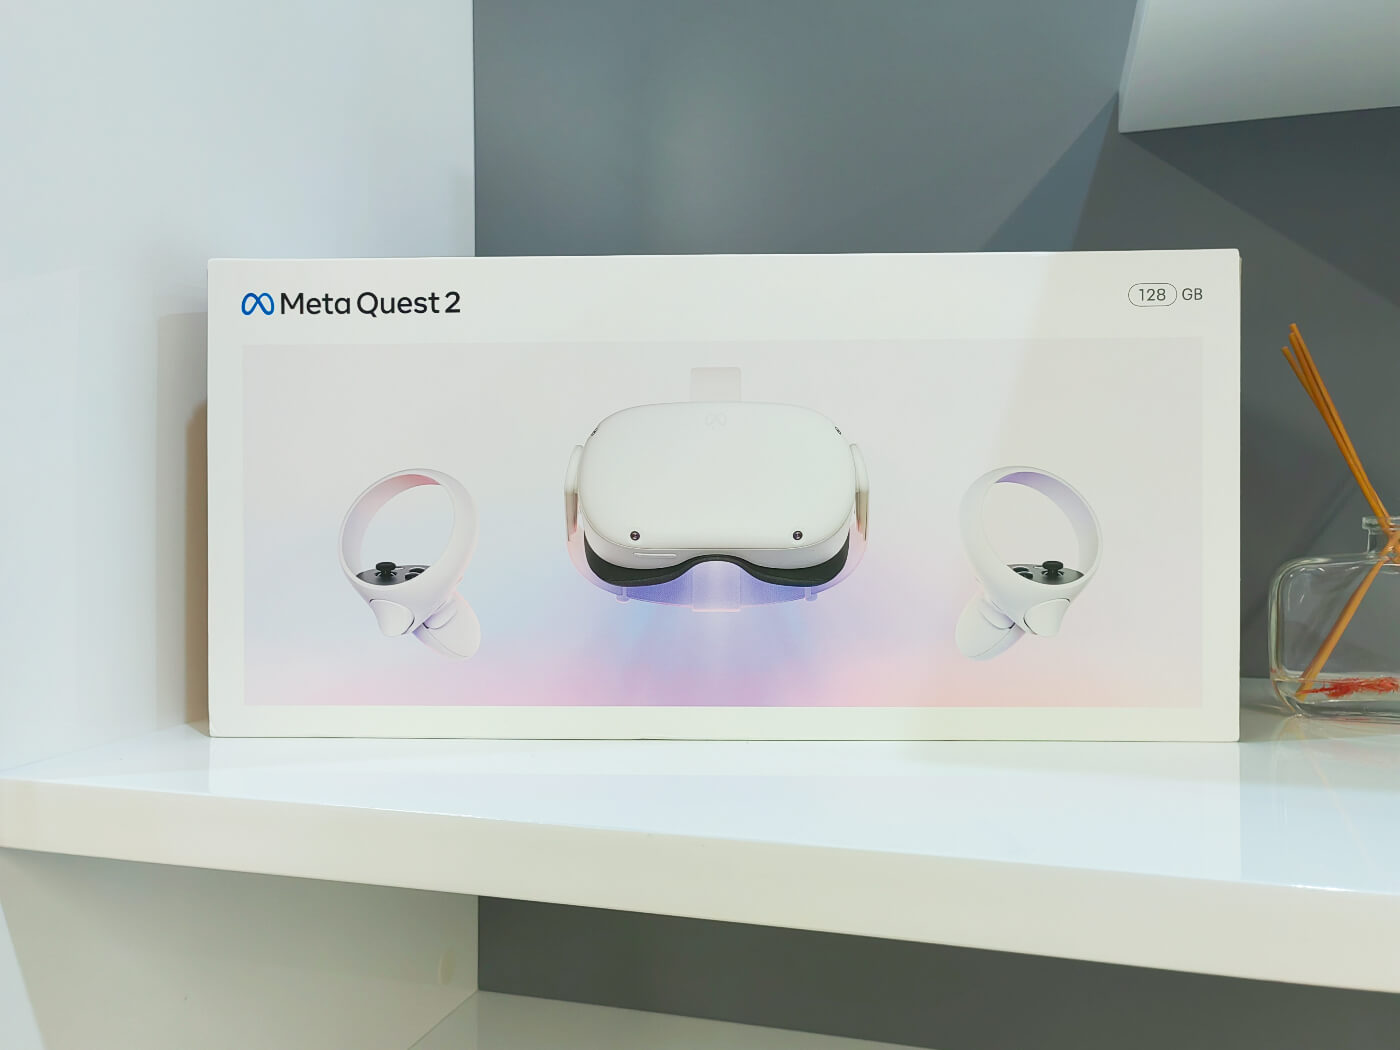
Step 1: Unbox Your Meta Quest 2
In the box, you’ll find:
- The headset
- A pair of controllers
- A charging cable
- A power adapter
To turn the controllers on, you need to grip them and take out their pull tabs. Put the Quest 2 headset on your eyes and press and hold the power button until a large white "O" appears. Squeeze the trigger on each controller as soon as Quest 2 starts off. They will now be automatically connected to the headset.
Quest 2 Touch Controllers
With touch controllers, you may interact with numerous Meta Quest experiences. They feature typical action buttons, two thumb sticks, as well as analog triggers that are likely to be comfortable for most players. Here are some fundamental things to know about Touch controller buttons, even if individual programs frequently have their own instructions for using them:
- You can move around virtual surroundings by using your thumbsticks.
- You can choose things with the A and X buttons, as well as the trigger located on the front of the controllers. You can go back to the previous screen by using the B and Y buttons.
- When the Oculus button is pressed, the universal menu appears. Your view is recentered by holding the button.
- Making a fist or grabbing objects with your virtual hand requires pressing the Grip button located on the side of the controller.
RELATED: Meta Quest 3, 2, & Pro Controllers - Which One Is The Best?
Step 2: Download The Meta Quest App
It's advised to download the Meta Quest app for iOS or Android after you unbox your new Quest 2 headset.
Ensure Bluetooth is enabled on your phone for a smoother setup. While you won’t need your phone after the initial setup, it’s handy for notifications, purchases, and social media features.
Step 3: Charge Up Your Quest 2 Completely
When the Quest 2 is first opened, the battery is about 40% charged. This is enough for the initial setup but you might run out of power during software updates. Fully charge your headset before proceeding.
The ZyberVR Charging Dock for Quest 2 can charge your headset in just 3 hours and automatically turns off to prevent overcharging. When not in use, put your headset to sleep or turn it off to save battery life.
RELATED: How To Extend The Playing Time Of The Quest 2
How To Turn Off Your Quest 2?
Hold the power button for at least 3 seconds until the indicator light turns off. This uses much less power than sleep mode. To turn it back on, hold down the power button again.
How To Put Your Quest 2 To Sleep?
Simply push the power button to put your Quest 2 to sleep. When you reattach the headset to your head, it will turn on by itself. Quest 2 uses some power even when it is inactive but far less than when it is in use.
Step 4: Set-up the Wi-Fi
The universal menu appears when you click the Oculus button on the right Touch controller. The Quick Settings panel will then appear when you point somewhere at the clock on the menu's left side. The next step is to select Wi-Fi, turn it on, then select the network you would like to join. Afterward, use the pop-up keyboard to input the password. Select Connect to finish.
Step 5: Set-up Guardian
Find a spacious, comfortable location to sit before you start. Make sure both of your hands have enough space to move around freely without tripping.
You can navigate your play area with Quest 2 by moving, dancing, or dodging. To do this, you must configure Roomscale on Guardian, which establishes a safe play perimeter. You must have an open space measuring at least 6.5 ft x 6.5 ft to get started. Quest 2's Stationary Mode allows you to play while seated or standing even if you have limited room.
You will be requested to set up Guardian once you turn on your headset if you haven't done so already or if you're using your Quest 2 in a different location. However, you may always change Guardian modes or redrew the boundaries.
To change Guardian modes,
- Open the universal menu, click the Oculus button on the right Touch controller.
- To access the Quick Settings panel, click the clock on the menu's left side.
- Select Guardian.
- After choosing Stationary or Roomscale, draw your new Guardian boundaries according to the on-screen directions.
Consider investing in a cable management kit that you can quickly set up to adjust the play space to fit your room. To prevent the VR headset cable from being tangled, the suspended wire smoothly spins 360 degrees.
Step 6: Install VR games and apps
Now that you understand the fundamentals, it's time to experience virtual reality for yourself. Open the Meta Quest App on your smartphone and browse the Meta Quest Store to find Meta Quest 2 games and apps that interest you. Once you've found a game or app you want to install, click the Install button and follow the on-screen instructions.
RELATED: Are Meta Quest 2 Games Compatible With Quest 3?
Recommended Meta Quest 2 Accessories
Conclusion
Sharing the wow factor with your friends and family is a great experience. You may now play shooting games, golf games, ping pong games, and fitness games and enjoy them with your friends.
The best Quest 2 accessories may also help you make more use of your VR headset whether you're searching for a better fit or a faster way to charge everything.


