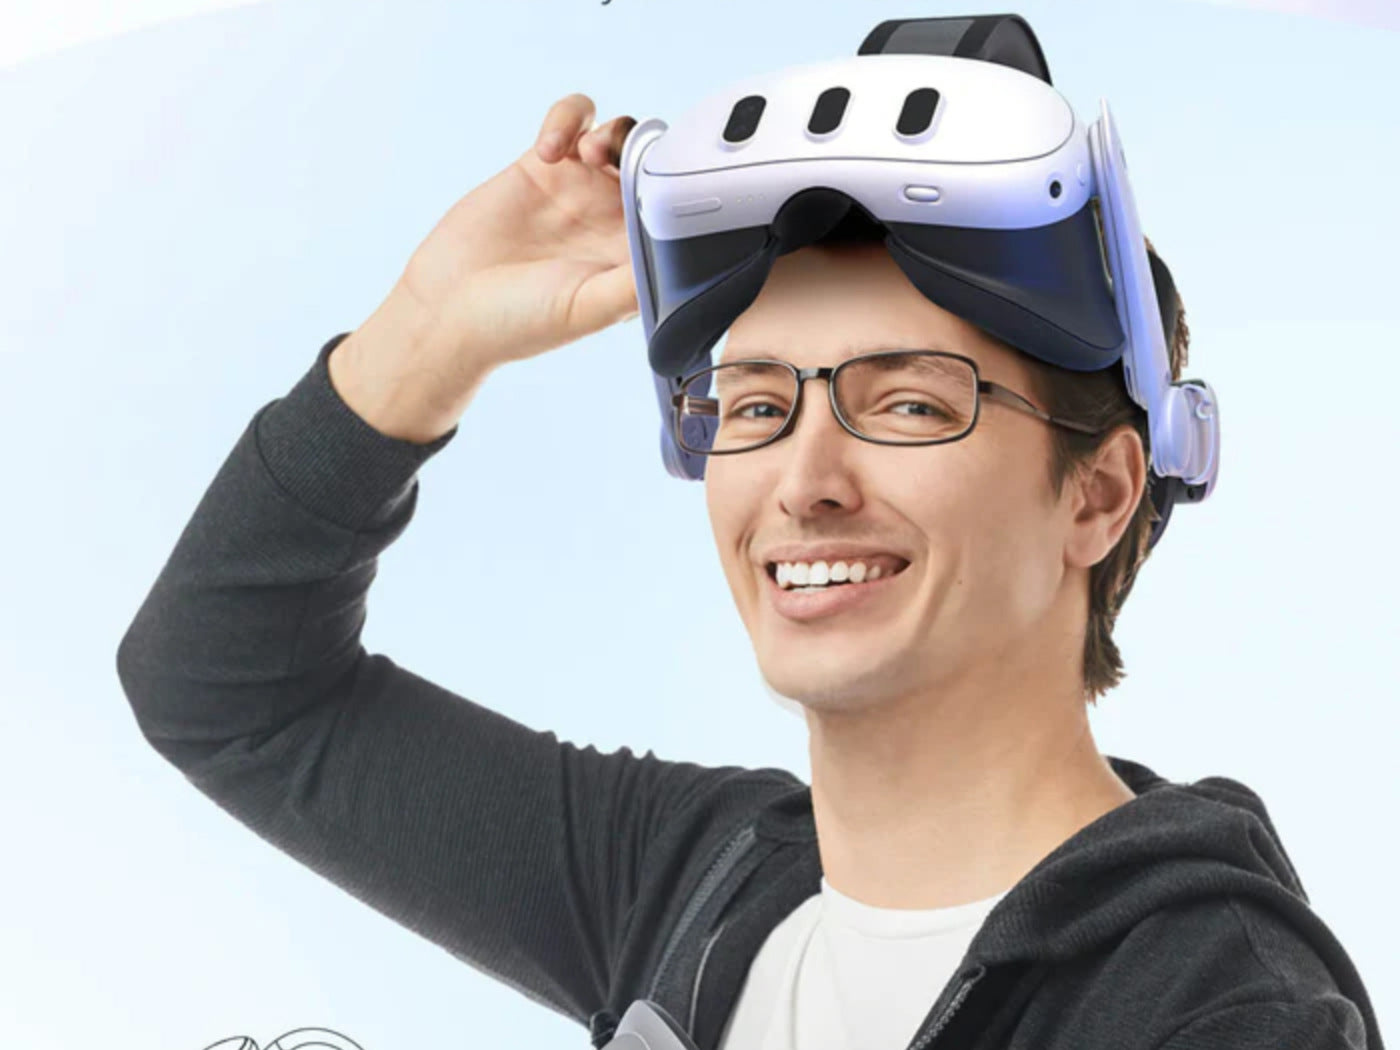
The Meta Quest 3 head strap is a crucial component that contributes not only to the overall stability of the VR headset but also to the user's comfort. This blog will provide an overview of the Meta Quest 3 head strap, highlighting its key features and the importance of proper adjustment for an optimal virtual reality experience.
Understanding the Meta Quest 3 Head Strap Design
The Meta Quest 3 boasts a meticulously crafted head strap design that combines comfort and functionality to enhance the overall VR experience. Unlike its predecessor, the Quest 2, the Meta Quest 3 features a redesigned soft strap by default.
The head strap follows a Y-shaped configuration, branching out towards the back of the user's head. This Y-shaped design connects in two key places to a halo strap that runs from the headset past the ears, creating a stable and balanced foundation.

One important but less immediately apparent aspect of the design is the presence of adjustable points, both on the top of the head and at the rear crown. These points allow users to customize the fit, catering to various head sizes and shapes.
Tightening Your Meta Quest 3 Head Strap
Upon unboxing your Meta Quest 3, you'll notice the default top strap is loose and the back connecting straps are close together. The headset may fit loosely on your head in this state. The key to adjusting the Meta Quest 3 head strap lies in the Y-shaped configuration at the rear crown of your head.
There are two sliders connected to this Y-shape, allowing you to spread them apart or push them together for tightening or loosening the headset. Before wearing the headset, practice spreading apart and pushing together these Y-shaped sliders. This will familiarize you with the adjustments and make the process smoother when the headset is on.
- With the headset in hand, put it on your head.
- Reach your hands behind your head and spread the Y-shaped straps until the soft strap fits comfortably around your head. Ensure basic movements can be performed without the headset slipping off.
- While wearing the headset, loosen the velcro on the top strap and then pull it tight until you achieve a proper fit. The top strap should sit on your head without being overly tightened.
- Make additional adjustments to the back straps to ensure a comfortable and secure fit. The goal is to distribute the pressure evenly across your face without any pinching or excessive tightness.
- The solid side straps on the Meta Quest 3 pivot with the main headset. Utilize these firm arms to adjust the angle on your face, providing a final fine-tuning after securing the strap properly.
- If you wear glasses, ensure the included glasses spacer (142mm by 50mm) is inserted inside the headset before adjusting the head strap. This ensures a perfect fit, especially if you need additional space for eyeglasses.
It's advisable to start with a looser fit initially. Resist the temptation to tighten the straps too much right away. This approach allows for more flexibility in making precise adjustments for long-term comfort.
After all adjustments, ensure the pressure is evenly distributed across your face. There should be no discomfort or red marks after removing the headset. If needed, readjust the straps to achieve a balanced and comfortable fit.
Tips for Ensuring a Comfortable Fit

Loosen Your Top Strap
Avoid the common mistake of overtightening the top strap. Instead, focus on adjusting the Y-shaped back straps first. This allows for more precise adjustments, ensuring a secure fit without running out of room for the velcro on the top strap.
Move the Firm Arms for Angle Adjustment
The solid side straps on the Meta Quest 3 pivot with the main headset. Use these firm arms to adjust the angle on your face, reducing pressure on your forehead and achieving a more comfortable fit. This step is particularly beneficial after securing the head strap.
Use the Glasses Spacer If You Are Wearing Glasses
If you wear eyeglasses, make sure to insert the included glasses spacer inside the headset before adjusting the head strap. This ensures a perfect fit and provides the necessary space for comfortable use with glasses.
Start with a Looser Fit
When initially putting on the headset, resist the urge to tighten the straps excessively for immediate security. Starting with a looser fit allows for more flexibility in making precise adjustments, ensuring long-term comfort during extended VR sessions.
Check for Even Pressure Distribution
After adjusting all the straps, ensure the pressure is evenly distributed across your face. There should be no pinching or excessive tightness. If you experience discomfort or notice red marks after removing the headset, readjust the straps for a balanced and comfortable fit.
Invest In ZyberVR Quest 3 Elite Strap
Enhance your Meta Quest 3 experience by considering aftermarket options like the ZyberVR Quest 3 Elite Strap. These third-party straps are designed to provide additional comfort and support, offering a personalized fit for extended VR sessions.
Recommended Blogs:
- Will Your Quest 2 Accessories Work with Meta Quest 3?
- Best Meta Quest 3 Accessories To Buy (Keep Updating)
Conclusion
Understanding and properly adjusting the Meta Quest 3 head strap are crucial steps in maximizing the overall enjoyment and comfort of virtual reality, and users are encouraged to follow the provided guidelines for an optimal VR experience.


