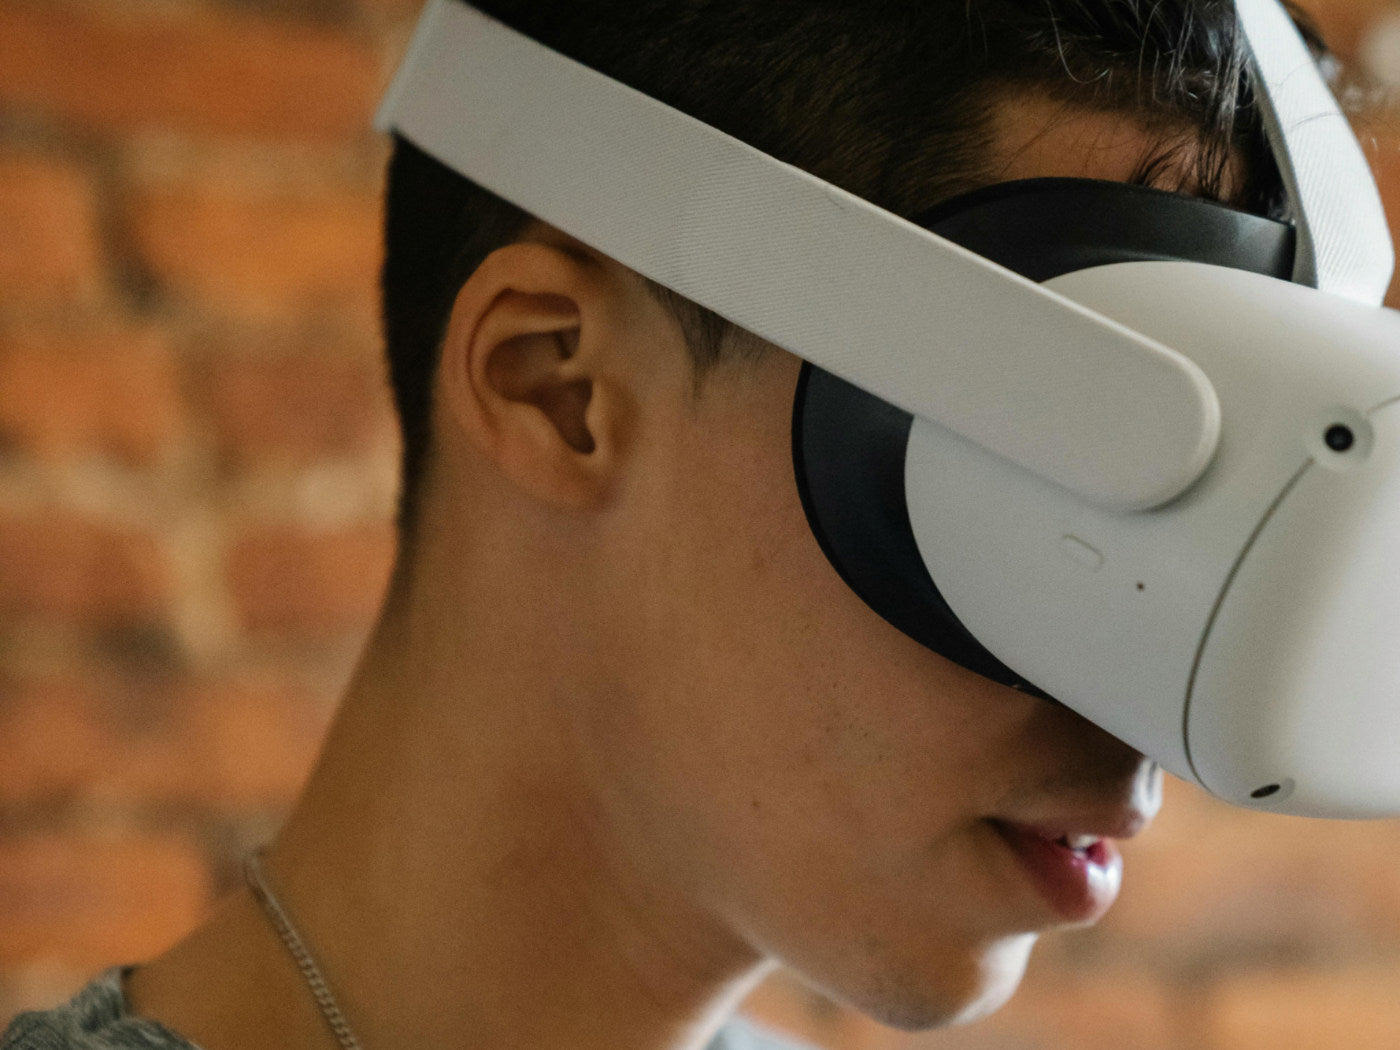
Nowadays, capturing our most cherished moments has become second nature. But what if those moments could be more than just still images? What if they could be immersive, dynamic, and lifelike? With Meta Quest's built-in video recording feature, you can easily capture everything you see and do in VR, from epic gaming moments to artistic creations.
How To Start Recording
- Access the Universal Menu
- Navigate to the Camera Option
- Select "Record Video"
- Confirm Recording Initiation
- Double-Check Settings (Optional)
1. Accessing the Universal Menu
To start recording, first, bring up the universal menu on your Meta Quest controller.
2. Navigating to the Camera Option
Within the universal menu, locate and select the "Camera" option. This will open up a submenu with different camera-related functions.
3. Selecting "Record Video"
From the camera submenu, choose the "Record Video" option. This signals to Meta Quest that you're ready to start capturing video footage of your VR experience.
4. Confirming Recording Initiation
Once you've selected "Record Video," keep an eye out for a visual indicator within your VR environment. Meta Quest provides a clear signal that recording has commenced, typically in the form of a red dot or other distinctive marker.
5. Double-Checking Settings (Optional)
Meta Quest allows you to adjust various recording parameters, such as video quality and microphone input, to suit your preferences.
RELATED: How To Connect Your Meta Quest Headset To A Wi-Fi Network
How To Manage Your Recording
You may need to make adjustments or control your recording. Here are some tips to help you get the most out of your VR video recording:
- Choose the highest quality setting that your Meta Quest can handle without impacting performance. This will ensure that your recorded videos are crisp, clear, and immersive.
- If you want to capture audio along with your video, make sure to enable microphone input in the recording settings menu. This will allow you to narrate your VR experiences or capture ambient sounds for added immersion.
- Consider adjusting the frame rate of your recordings based on the type of content you're capturing. For fast-paced action scenes, a higher frame rate may be preferable to ensure smooth playback.
Ending And Saving Your Recording
When you're ready to end your recording session, follow these simple steps:
Stopping the Recording
- While in VR, press the designated button on your Meta Quest controller to bring up the universal menu.
- From the universal menu, select the "Camera" option to access the recording controls.
- Within the camera submenu, locate and select the option to stop recording. This will halt the recording process and finalize your video capture.
Saving the Captured Video File
- Exit VR mode and return to the Meta Quest home screen.
- Navigate to the "Files" app, which serves as the file manager on Meta Quest.
- Within the Files app, locate the folder where your recorded video is stored. This is typically the "Videos" or "Recordings" folder.
- Select the recorded video file to open it and confirm that it has been saved successfully.
RELATED: How To Enable Cloud Backup On Meta Quest
Accessing the Saved Video File
- Open the Files app from the Meta Quest home screen.
- Navigate to the folder where your recorded video is stored, such as "Videos" or "Recordings."
- Select the video file to open and view it. From here, you can watch, share, or delete the video as desired.
Utilizing The Files App On Meta Quest
To navigate and organize your recorded videos using the Files app, follow these simple steps:
- Open the Files app from the Meta Quest home screen.
- Navigate to the folder where your recorded videos are stored. This is typically the "Videos" or "Recordings" folder.
- Once inside the folder, you can view and organize your recorded videos by date, name, or other criteria.
- Use the options available within the Files app to create folders, move files, and manage your video library to your liking.
Tips For Efficient File Management
To make the most of the Files app and ensure efficient file management, consider the following tips:
- Regularly organize and categorize your files to keep your digital library neat and organized.
- Backup important files to external storage or cloud services to prevent data loss.
- Take advantage of the sharing options available within the Files app to easily share your recorded videos with friends, family, or followers.
RELATED: How To Use Voice Commands On Your Meta Quest Headset
Recommended Meta Quest Accessories
1. ZyberVR Neck Power Bank
2. ZyberVR Link Cable
3. ZyberVR Black Sling Bag
4. ZyberVR Night IR Light
Conclusion
Recording VR videos on Meta Quest is about turning those memories into something tangible and immersive. As you continue your VR journey with Meta Quest, remember to experiment, explore, and most importantly, have fun!


