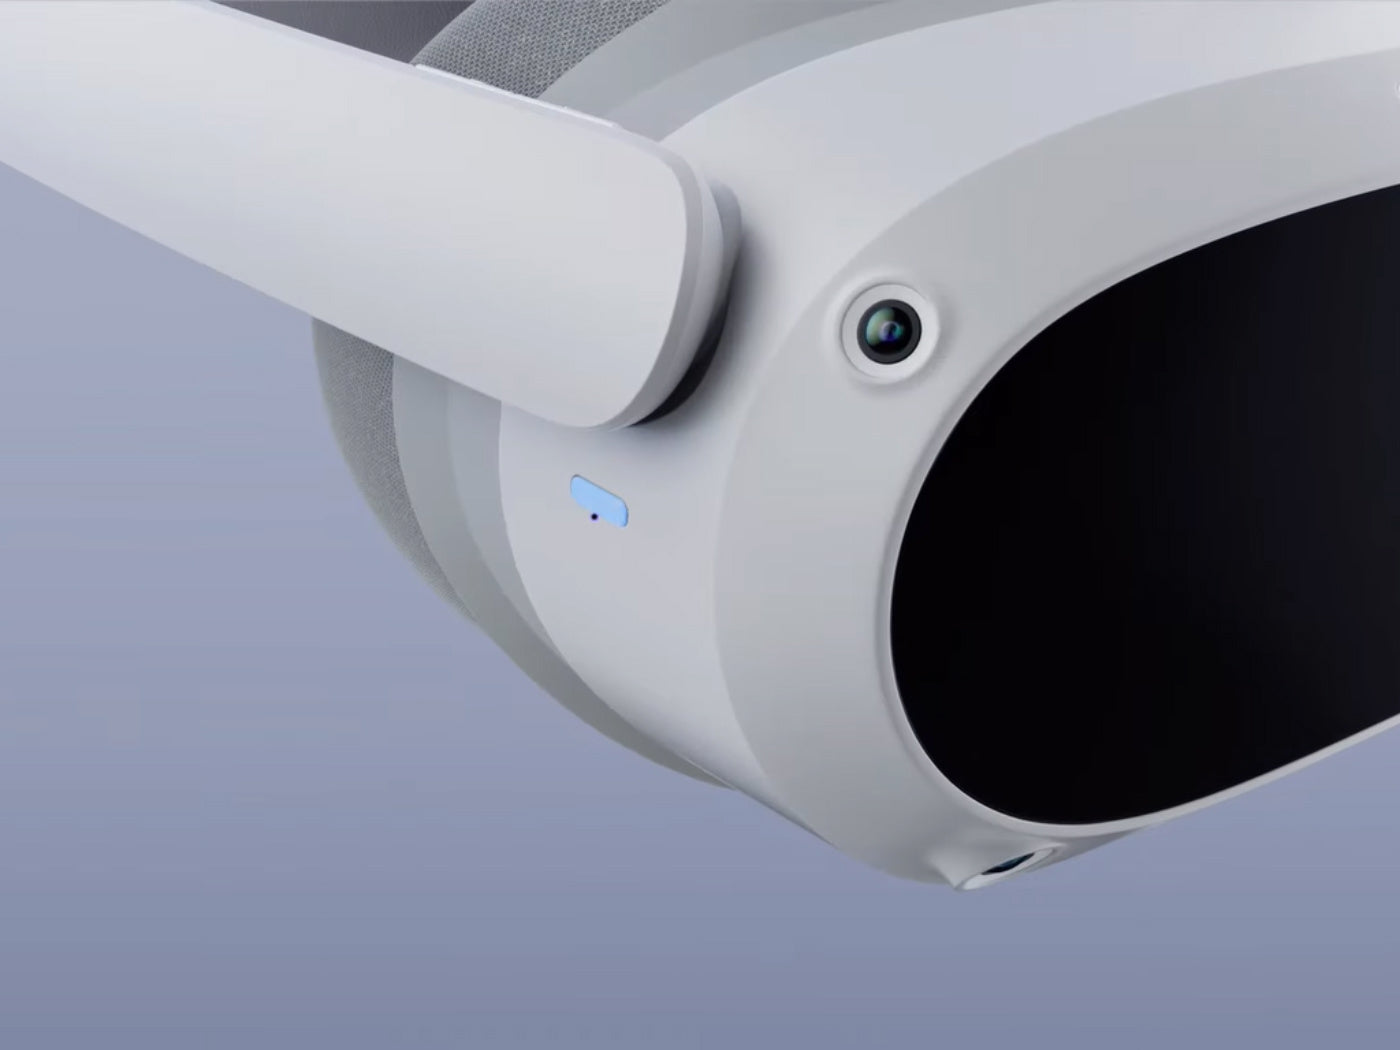
Transferring files from a computer to the Pico 4 VR headset can seem daunting, but it's actually a straightforward process when broken down into simple steps. This guide will walk you through everything you need to know to get your files onto your Pico 4 quickly and easily. Whether you need to transfer images, videos, or music, this article will cover all the necessary steps.
What You Need
Before we begin, make sure you have the following items ready:
- Computer
- Pico 4 Controllers
- Pico 4 Headset in 'Developer Mode'
- USB-C cable
RELATED: How To Choose A Pico 4 Headstrap
Preparing Your Pico 4 For File Transfer
- Power on your Pico 4 headset and put it on.
- Press the 'Pico Button' on the controller to bring up the dock, then select the 'Quick Settings' icon located in the bottom right corner.
- In the Quick Settings menu, find and select the 'Settings' icon, located in the top right corner.
- Navigate to the 'Developer' section in the settings.
- Toggle the 'USB Debug' option to ON.
- Click on 'USB Connection' and select 'File Transfer' from the options.
Connecting The Pico 4 To Your Computer
- Connect your Pico 4 to your computer using a USB-C cable. The USB-C port is located on the left side of the headset.
- Once connected, your Pico 4 should appear as a drive on your computer. If it doesn't appear immediately, make sure the USB connection settings on the headset are correctly set to 'File Transfer'.
RELATED: Is The Pico 4 Good For PC VR?
Transferring Files To The Pico 4
With your Pico 4 now appearing as a drive on your computer, you can start transferring files:
- On your computer, open the file explorer and locate the Pico 4 drive.
- Choose the files you want to transfer. This can include images, videos, music, and other media files.
- Drag and drop the selected files into the appropriate folders on the Pico 4 drive. You can create new folders if necessary to keep your files organized.
- After transferring the files, safely eject the Pico 4 drive from your computer to avoid any potential data corruption.
Connecting Your Pico 4 VR Headset To A PC Or Laptop
For those looking to enhance their VR experience, connecting the Pico 4 to a PC or laptop opens up a wider range of possibilities, including access to more VR games. Here’s how you can do it:
Requirements For Connecting To A PC
Before connecting your Pico 4 to a PC or laptop, ensure your computer meets the following specifications:
- Intel Core i5-4590/AMD FX 8350 or higher
- 8GB RAM or more
- NVIDIA GeForce GTX 970, AMD Radeon R9 290, or better
- Windows 10
- At least one USB A 3.0 port or higher
- PC or laptop should be connected to the internet via an Ethernet cable. The Pico 4 should be connected to at least a 5GHz WiFi band.
Connecting via USB-C Cable
- Download and install 'Streaming Assistant' from the Pico website on your PC or laptop.
- Connect the USB-C cable to your Pico 4 and the other end to your computer.
- Open 'Streaming Assistant' on your PC and your Pico 4.
- On the Pico 4, select USB as the connection mode.
- Find your PC or laptop in the list of devices on your Pico 4 and press 'Connect'.
Connecting Wirelessly via Virtual Desktop
- Buy and install the 'Virtual Desktop' app from the Pico Store on your Pico 4 headset.
- Download and install the 'Virtual Desktop Streamer' app on your PC or laptop.
- Open the Streamer app on your PC, choose a username for your VR headset, and connect.
- Open 'Virtual Desktop' on your Pico 4 and connect to your PC or laptop by selecting it from the list.
RELATED: How To Play Gorilla Tag On The Pico 4
Recommended Pico 4 Accessories
1. ZyberVR Pico 4 Knuckle Grips
2. ZyberVR Night IR Light
3. ZyberVR Pico 4 Prescription Lenses
4. ZyberVR Pico 4 Elite Head Strap
Conclusion
Transferring files to the Pico 4 and connecting it to a PC or laptop enhances your VR experience significantly. By following these steps, you can easily move your media files and enjoy a broader range of VR content. Whether using a wired connection or going wireless, the process is straightforward and designed to be user-friendly.


